
Expert Tips on Refinishing Cast Iron Pans
- 1. Why You Should Refinish Your Cast Iron Pan
- 2. Gathering Supplies for Refinishing
- 3. Steps to Refinish Your Cast Iron Pan
- 4. Common Mistakes to Avoid
- 5. Maintaining Your Refinished Cast Iron Pan
- 6. Where to Buy Cast Iron Refinishing Supplies
1. Why You Should Refinish Your Cast Iron Pan
Refinishing your cast iron pan is an essential part of maintaining its durability and performance. Over time, cast iron can lose its seasoning due to rust, excessive use, or improper care. Refinishing your pan restores the non-stick surface and helps prevent future rusting. Not only does a well-seasoned cast iron pan improve the flavor of your food, but it also enhances the cooking experience by providing even heat distribution.
Refinishing is a great way to bring your old cast iron back to life, saving you the expense of buying a new one. It’s a rewarding DIY project that, once completed, will leave you with a reliable kitchen tool for years to come. Let’s take a look at the process in more detail to ensure you get the best results.

Miracle Method Surface Refinishing / miracle method boulder
Santa RosaSonoma CountyCalifornia
3200 Dutton Ave Suite #325, Santa Rosa, CA 95407, USA
2. Gathering Supplies for Refinishing
Before you start refinishing your cast iron pan, it's important to gather the necessary supplies. Here’s a list of what you’ll need:
- Steel Wool or Sandpaper: You’ll need either fine steel wool or sandpaper to remove any old seasoning, rust, or debris from the pan’s surface.
- Cast Iron Cleaner: A specialized cleaner will help break down old layers of seasoning and remove rust.
- Vegetable Oil or Flaxseed Oil: These oils are excellent for seasoning your cast iron and creating a protective coating.
- Oven or Heat Source: A dedicated oven or a controlled heat source is necessary to properly cure the seasoning onto the cast iron pan.
- Paper Towels or Cloth: You’ll use these to apply the oil and wipe away excess oil during the process.
Once you have all of these supplies ready, you’re prepared to begin the refinishing process!
3. Steps to Refinish Your Cast Iron Pan
Refinishing your cast iron pan is a straightforward process, but it does require some patience. Follow these steps to restore your pan:
Step 1: Clean the Pan
Start by thoroughly cleaning the cast iron pan. Use a stiff brush, steel wool, or sandpaper to remove any old seasoning and rust. If there’s significant rust buildup, you can use a rust remover or cast iron cleaner. Scrub the entire surface until it’s smooth and free of debris. Rinse with warm water and dry thoroughly.
Step 2: Apply a Thin Layer of Oil
Once the pan is clean and dry, apply a thin, even layer of vegetable or flaxseed oil. Use a paper towel or cloth to wipe away any excess oil, leaving just a light coating. This is key, as too much oil can result in sticky spots during the curing process.
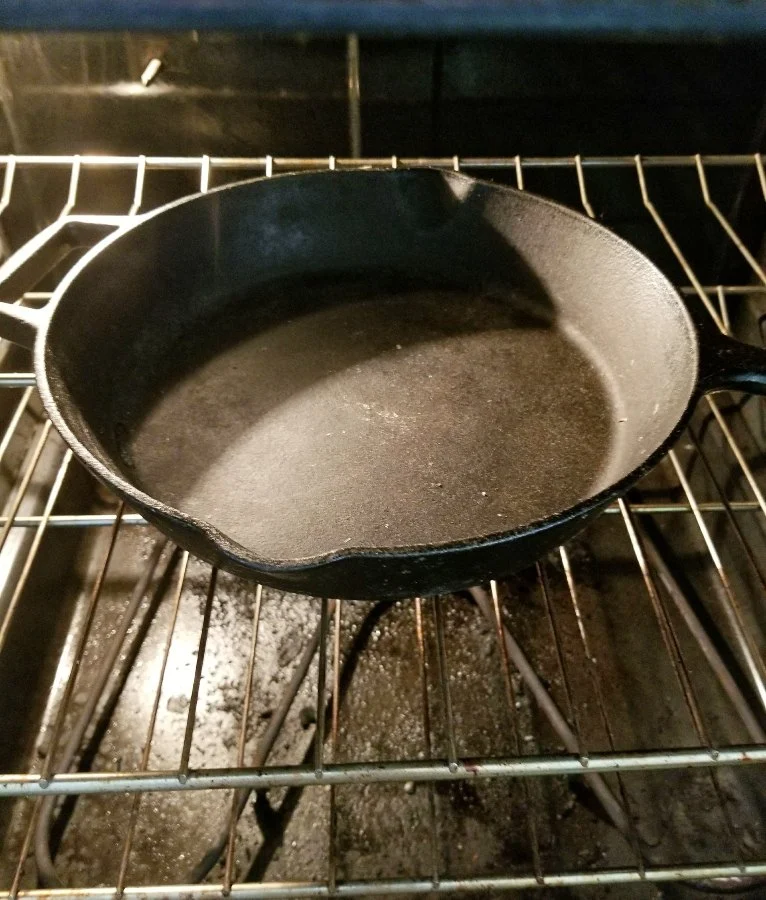
Step 3: Bake the Pan
Preheat your oven to 450°F (230°C). Place the pan upside down on the middle rack of the oven, with a layer of aluminum foil on the lower rack to catch any drips. Bake the pan for 1 hour. After 1 hour, turn off the oven and allow the pan to cool inside the oven to room temperature. This step allows the oil to bond with the cast iron, creating the seasoning.
Step 4: Repeat the Process
For the best results, repeat the oiling and baking process 3-4 times. Each layer of seasoning builds upon the last, creating a stronger, non-stick surface.
4. Common Mistakes to Avoid
While refinishing your cast iron pan is relatively simple, there are some common mistakes you should avoid to ensure success:
- Using Too Much Oil: Applying too much oil can result in a sticky, uneven finish. Always wipe away any excess oil.
- Not Cleaning the Pan Thoroughly: Failing to properly clean the pan can lead to rust or uneven seasoning.
- Skipping the Curing Process: The seasoning process requires heat to bond the oil to the pan. Skipping this step will leave your pan under-seasoned and prone to rust.
Avoiding these mistakes will ensure your refinished pan has a smooth, non-stick surface that can last for years to come.
5. Maintaining Your Refinished Cast Iron Pan
After refinishing your cast iron pan, proper care is essential to maintain its seasoning and prevent rust. Here are some tips to keep your pan in top shape:
- Clean After Each Use: After cooking, clean your pan with warm water and a stiff brush. Avoid soap, as it can break down the seasoning.
- Dry Immediately: Cast iron is prone to rust, so always dry your pan immediately after washing. You can place it on low heat for a few minutes to ensure it’s completely dry.
- Re-oil Occasionally: After each use, rub a small amount of oil into the surface of the pan to maintain its seasoning.
By following these simple maintenance steps, your refinished cast iron pan will continue to provide excellent performance for many years.
6. Where to Buy Cast Iron Refinishing Supplies
If you’re looking for high-quality cast iron restoration products, visit Cast Iron Restoration for everything you need, from cleaning supplies to oils and seasonings. They offer a wide range of products to help you keep your cast iron pans in top condition.


 Prestige Designs4.0 (17 reviews)
 Suran Built4.0 (24 reviews)
 Freeman Construction4.0 (18 reviews)
 Sherwood Construction Services4.0 (20 reviews)
 Bathtub Refinishing And Fiberglass Expert LLC5.0 (129 reviews)
 Cabinet Creations Plus4.0 (14 reviews)
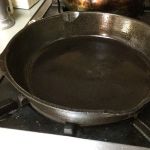 How to Refurbish a Cast Iron Skillet at Home: A Complete Guide
 Best Products for Cast Iron Restoration Service: Top Tools and Products
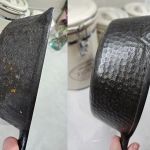 Simple At-Home Techniques for Cast Iron Restoration | Restore Your Cookware
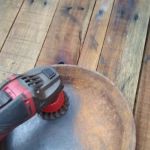 How to Restore Cast Iron at Home | A Complete Guide for Beginners
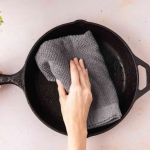 How Long Does Cast Iron Skillet Refinishing Take? Realistic Timeline for Restoration
 What to Avoid When Attempting Cast Iron Refinishing: Common Mistakes to Watch Out For