

How to Safely Clean Newly Installed Tile and Fixtures
- Step 1 - Initial Cleaning
- Step 2 - Choosing the Right Cleaning Supplies
- Step 3 - Cleaning Techniques for Different Tile Types
- Step 4 - Post-Cleaning Care and Maintenance
- Step 5 - Common Mistakes to Avoid
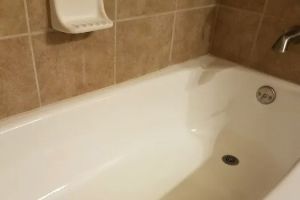
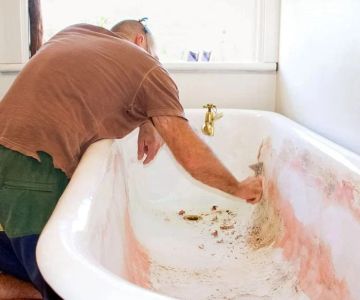
Step 1 - Initial Cleaning
When you first install tiles and fixtures in your home, one of the first tasks is to perform an initial cleaning. This removes any construction dust, grout residue, or other debris that may have accumulated during installation.
Use a damp microfiber cloth or sponge to wipe down the tiles, and be sure to avoid harsh chemicals during this initial cleaning. A mild cleaning solution, such as a mixture of water and vinegar, will do the trick. This ensures you are not damaging the surface of your new tiles or fixtures.

Carefree Koatings / miracle method louisville ky
8919 Renetta Ct, Cincinnati, OH 45251, USA
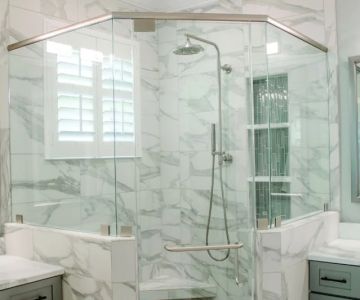
Step 2 - Choosing the Right Cleaning Supplies
Choosing the right cleaning supplies is crucial for preserving the appearance and durability of your newly installed tiles and fixtures. Avoid abrasive sponges or scrubbers that may scratch the surface.
For most tiles, a gentle pH-balanced cleaner is ideal. It's essential to select products designed for your specific tile material. For example, ceramic and porcelain tiles can handle mild cleaners, but natural stone tiles like marble or granite require specialized stone-safe cleaners.
Miracle Method Surface Refinishing / miracle refinish tubs
Santa RosaSonoma CountyCalifornia
3200 Dutton Ave Suite #325, Santa Rosa, CA 95407, USA
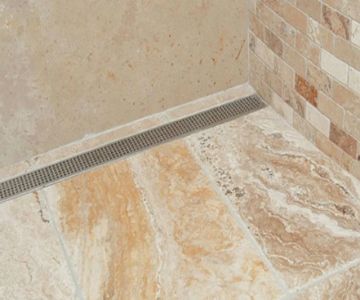
Step 3 - Cleaning Techniques for Different Tile Types
Each type of tile requires its own cleaning approach. Here's a breakdown of cleaning techniques for various types of tiles:
- Ceramic and Porcelain Tiles: These are the easiest to clean. Simply mop with a mild detergent solution, and avoid using too much water as it can seep into grout lines.
- Natural Stone Tiles (Marble, Granite, etc.): Use a stone-specific cleaner to prevent damage. Do not use acidic solutions like vinegar, as they can etch the stone.
- Glass Tiles: Glass tiles need to be cleaned with a non-abrasive cleaner to maintain their shine. A vinegar-water solution is often enough.
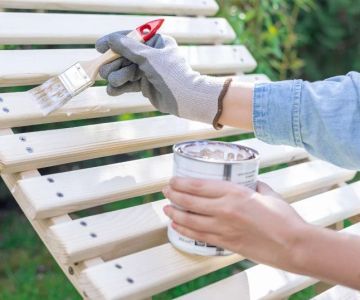
Step 4 - Post-Cleaning Care and Maintenance
Once your tiles are clean, it’s important to maintain them properly to ensure they stay in good condition. Use a soft cloth or towel to dry the tiles after cleaning to prevent water spots. You can also apply a tile sealant to protect the grout and tile surfaces from future stains or damage.
Regular cleaning will prevent dirt and grime buildup and keep your tiles looking fresh. Clean high-traffic areas weekly, and less frequently clean areas with minimal use.
Step 5 - Common Mistakes to Avoid
While cleaning newly installed tiles and fixtures, there are a few common mistakes to avoid:
- Using harsh chemicals that can damage the tiles and fixtures.
- Not drying tiles properly after cleaning, which can lead to water spots and streaks.
- Scrubbing too hard, which can scratch the surface of delicate tiles like marble or glass.
By avoiding these mistakes, you can keep your new tiles and fixtures looking beautiful for years to come.
Conclusion
Taking the time to clean your newly installed tile and fixtures correctly can help maintain their beauty and longevity. Whether you're working with porcelain, natural stone, or glass, using the right cleaning supplies and techniques will ensure your tiles stay in excellent condition. For the best cleaning supplies and tips, visit Cast Iron Restoration for products that are tailored to your needs.


 Bath Fitter4.0 (167 reviews)
 Total Home Improvement4.0 (48 reviews)
 Kiba Studios Valparaiso5.0 (4 reviews)
 A V Tub & Top5.0 (2 reviews)
 GFR Bathtub Refinishing5.0 (4 reviews)
 Specialized Refinishing Co.4.0 (12 reviews)
 How to Refurbish a Cast Iron Skillet at Home: A Complete Guide
 Best Products for Cast Iron Restoration Service: Top Tools and Products
 Simple At-Home Techniques for Cast Iron Restoration | Restore Your Cookware
 How to Restore Cast Iron at Home | A Complete Guide for Beginners
 How Long Does Cast Iron Skillet Refinishing Take? Realistic Timeline for Restoration
 What to Avoid When Attempting Cast Iron Refinishing: Common Mistakes to Watch Out For