
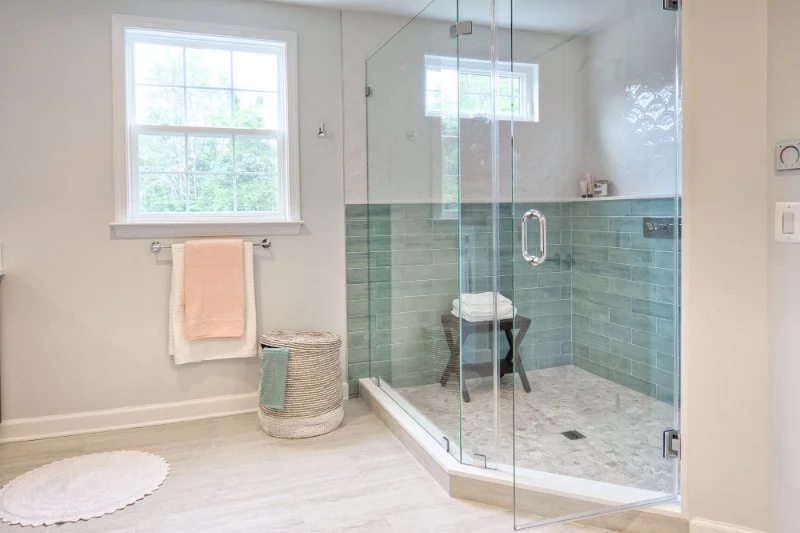
How to Refinish a Shower Stall for a Like-New Look
- 1 - Why Refinish Your Shower Stall?
- 2 - Tools You Need to Refinish Your Shower Stall
- 3 - Step-by-Step Guide to Refinish Your Shower Stall
- 4 - Common Mistakes to Avoid When Refinishing a Shower Stall
- 5 - Real-Life Case Study: Successful Shower Refinishing
- 6 - Why Cast Iron Restoration Can Help with Your Shower Project
1 - Why Refinish Your Shower Stall?
Over time, your shower stall can start to show signs of wear, including stains, cracks, and dull surfaces. Instead of replacing it entirely, refinishing is an excellent way to restore the beauty of your shower stall without breaking the bank.
Refinishing not only revitalizes the look of your shower but also extends its life, helping you avoid expensive replacements. Whether you have a fiberglass, acrylic, or porcelain shower, refinishing can give it a new, polished appearance and improve your bathroom’s overall aesthetic.

Miracle Method Surface Refinishing / miracle method boulder
Santa RosaSonoma CountyCalifornia
3200 Dutton Ave Suite #325, Santa Rosa, CA 95407, USA
2 - Tools You Need to Refinish Your Shower Stall
To successfully refinish your shower stall, you’ll need to gather the right tools and supplies. Here are the essentials:
- Surface Cleaner: A non-abrasive cleaner to remove soap scum, grime, and mineral buildup.
- Sandpaper or Power Sander: For roughing up the surface and allowing the new finish to adhere properly.
- Epoxy or Refinishing Kit: A high-quality refinishing kit designed for shower stalls. Make sure it’s suitable for the material of your shower stall (fiberglass, acrylic, porcelain, etc.).
- Paint Rollers and Brushes: For applying the refinishing material evenly.
- Protective Gear: Gloves, goggles, and a mask to protect yourself from fumes and chemicals.
3 - Step-by-Step Guide to Refinish Your Shower Stall
Refinishing your shower stall is a project you can tackle yourself. Here’s a simple, step-by-step guide to help you achieve that like-new look:
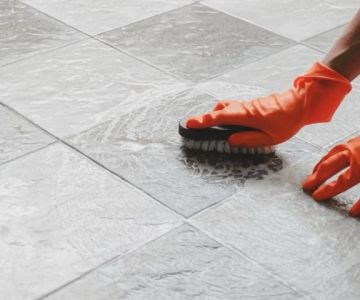
Step 1: Clean the Shower Stall
Thoroughly clean your shower stall to remove any soap scum, mold, mildew, and other debris. This ensures the surface is free of contaminants that could affect the adhesion of the refinishing material.
Step 2: Sand the Surface
Use sandpaper or a power sander to lightly roughen the surface of your shower. This helps the refinishing material adhere better. Make sure to sand evenly and remove any dust with a damp cloth afterward.
Step 3: Apply the Epoxy or Refinishing Kit
Mix the epoxy or refinishing material according to the manufacturer’s instructions. Use a paint roller to apply the first coat, followed by a brush to touch up the edges and corners. Allow the first coat to dry completely before applying a second coat.
Step 4: Let It Cure
After applying the final coat, allow the shower stall to cure for at least 24-48 hours. This ensures that the refinishing material fully sets and the finish is durable.
4 - Common Mistakes to Avoid When Refinishing a Shower Stall
Refinishing a shower stall can seem like a simple task, but there are several common mistakes that can undermine your results. Here’s what to avoid:
- Not Preparing the Surface Properly: Skipping the cleaning or sanding steps can result in poor adhesion and an uneven finish.
- Using the Wrong Products: Ensure the refinishing kit is compatible with the material of your shower stall (fiberglass, acrylic, etc.).
- Not Allowing Enough Drying Time: Rushing the curing process can lead to a weak finish or smudging. Always follow the manufacturer’s recommended curing time.
- Skipping Protective Measures: Failing to wear protective gear like gloves and a mask can expose you to harmful chemicals and fumes.
5 - Real-Life Case Study: Successful Shower Refinishing
Sarah, a homeowner from San Diego, faced a similar situation when her once-beautiful shower started to look dull and outdated. Instead of replacing it, she decided to refinish it herself. After following the step-by-step guide and using a high-quality refinishing kit, her shower looked brand new again.
Sarah’s success story highlights how refinishing can save both time and money. With a little patience and the right materials, you can achieve professional-looking results without the need for a costly replacement.
6 - Why Cast Iron Restoration Can Help with Your Shower Project
If you’re looking for expert guidance or top-quality products for your shower refinishing project, Cast Iron Restoration is the perfect resource. We offer the best refinishing kits, tools, and professional services to help you restore your bathroom to its former glory. Whether you’re working on a DIY project or need professional help, Cast Iron Restoration provides the products and expertise you need.
Visit Cast Iron Restoration for more information on our services and products to help you get the best results for your shower stall refinishing project.



 Crimson Design & Construction5.0 (21 reviews)
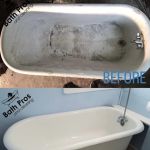 Bath Pros and Cleaning,Corp5.0 (46 reviews)
 Willis Builders Ltd.4.0 (32 reviews)
 Renovision SouthWest5.0 (5 reviews)
 JPD Kitchens3.0 (63 reviews)
 Matrix Construction and Plumbing LLC4.0 (41 reviews)
 How to Refurbish a Cast Iron Skillet at Home: A Complete Guide
 Best Products for Cast Iron Restoration Service: Top Tools and Products
 Simple At-Home Techniques for Cast Iron Restoration | Restore Your Cookware
 How to Restore Cast Iron at Home | A Complete Guide for Beginners
 How Long Does Cast Iron Skillet Refinishing Take? Realistic Timeline for Restoration
 What to Avoid When Attempting Cast Iron Refinishing: Common Mistakes to Watch Out For