
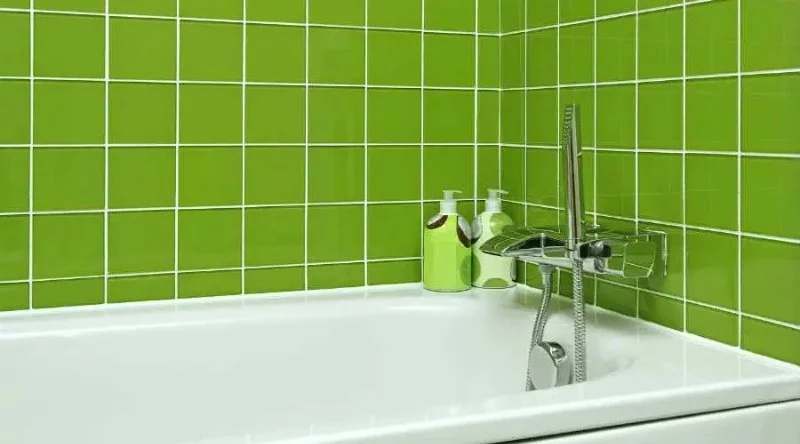
1-What is Bathtub Reglazing and Why Consider a DIY Kit?
Bathtub reglazing, also known as refinishing, is the process of restoring the surface of a worn-out bathtub to give it a fresh, new look. This is a popular solution for homeowners who want to avoid the high costs of a complete bathtub replacement. One way to achieve this restoration is by using DIY bathtub reglazing kits. These kits are readily available and promise an easy, affordable way to revamp your old bathtub without hiring a professional.
However, as with any DIY project, it’s important to understand the pros and cons of using a bathtub reglazing kit before diving in. In this article, we’ll explore both sides of the equation to help you determine whether a DIY bathtub reglazing kit is the right solution for you.
Miracle Method Surface Refinishing / miracle tub refinishing
Santa RosaSonoma CountyCalifornia
3200 Dutton Ave Suite #325, Santa Rosa, CA 95407, USA
2-The Pros of DIY Bathtub Reglazing Kits
For those looking to breathe new life into an old, dull bathtub, DIY reglazing kits offer several advantages. Let’s take a closer look at the pros:
2.1-Cost-Effective
One of the main reasons people opt for DIY bathtub reglazing is the cost savings. Professional bathtub refinishing can cost anywhere from $300 to $600, depending on the size and condition of the tub. In contrast, DIY reglazing kits are generally priced between $50 and $150. This makes it an attractive option for those on a budget who want to restore their bathtub without breaking the bank.
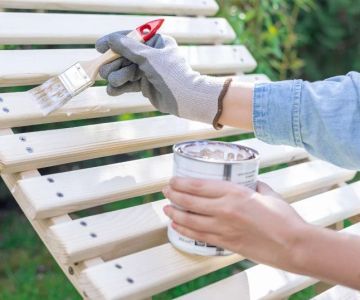
2.2-Simple to Use
DIY reglazing kits are designed for homeowners with little to no experience in home improvement. Most kits come with detailed instructions and the necessary tools to complete the job, making it relatively simple to apply. For those with basic painting or home improvement skills, the process is straightforward, and the results can be impressive.
2.3-Time-Saving
While a professional bathtub refinishing job may take several hours or even a full day, a DIY reglazing kit allows you to complete the task in a shorter period. With the proper prep work, you can typically reglaze your bathtub in just a few hours, and the drying process usually takes 24 to 48 hours, depending on the kit’s instructions.
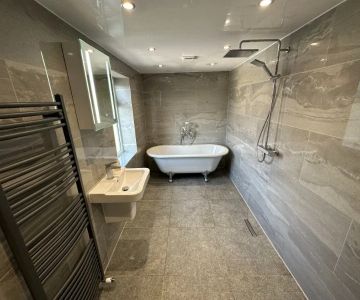
2.4-No Need for Major Renovation
If you’re not ready for a full bathroom remodel, using a DIY bathtub reglazing kit is an excellent way to refresh your bathroom without the need for major renovation work. It’s a simple solution to making your old tub look new again, without the hassle of removing it or dealing with contractors.
3-The Cons of DIY Bathtub Reglazing Kits
While there are clear advantages to using DIY bathtub reglazing kits, it’s important to also consider the potential downsides. Here are some of the cons to keep in mind:
3.1-Potential for Inconsistent Results
One of the biggest challenges of DIY bathtub reglazing is achieving a smooth, even finish. Even with detailed instructions, some users may struggle with applying the coating correctly, leading to uneven coverage, streaks, or an inconsistent texture. If the job isn’t done properly, you may end up with a finish that looks patchy or unprofessional.
3.2-Shorter Lifespan
DIY reglazing kits typically do not offer the same durability as professional refinishing. While a professional job can last anywhere from 5 to 10 years, a DIY reglaze may need touch-ups sooner, sometimes in as little as 1 to 3 years. The quality of the product and your application technique can significantly affect the lifespan of the finish.
3.3-Limited Professional Touch
Professional bathtub reglazing services often involve a more thorough preparation process, including sanding, repairing any chips or cracks, and applying multiple layers of specialized coatings. DIY kits typically don’t offer the same level of expertise or access to high-end materials, which can result in a finish that is less resilient and long-lasting.
3.4-Health and Safety Concerns
Applying a bathtub reglazing kit involves working with potentially harmful chemicals, such as epoxy or enamel-based coatings. Proper ventilation, protective gear, and safety precautions are necessary to avoid inhaling fumes or coming into contact with the chemicals. Without proper precautions, there’s a risk of respiratory issues or skin irritation.
4-How to Achieve the Best Results with a DIY Bathtub Reglazing Kit
If you decide to go the DIY route, here are some tips for ensuring the best possible results:
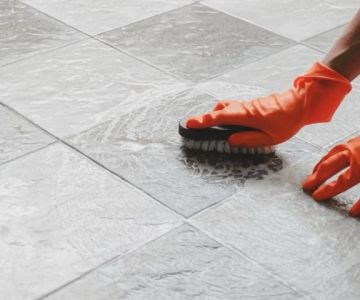
4.1-Preparation is Key
Proper preparation is crucial for a successful reglazing project. Thoroughly clean your bathtub, removing any soap scum, grime, or mildew. Use a mild abrasive cleaner and a scrub brush to ensure that the surface is smooth and free from any debris. If your bathtub has chips or cracks, consider using a filler before applying the reglaze.
4.2-Use High-Quality Materials
To get the best results, make sure you use a high-quality reglazing kit. Look for products that are specifically designed for bathtubs and check reviews to ensure that other users have had positive experiences with the product. A high-quality kit will provide better durability and a more professional-looking finish.
4.3-Take Your Time
Don’t rush the process. Follow the instructions carefully and allow each layer of the coating to dry fully before applying the next. Rushing through the project can lead to poor results and the need for rework later.
5-Case Study: A Homeowner’s Experience with DIY Bathtub Reglazing
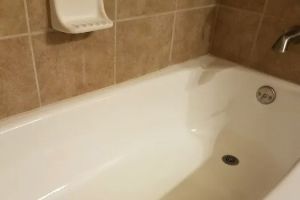
Meet Sarah, a homeowner who decided to tackle her bathtub restoration project with a DIY reglazing kit. Sarah's bathtub was an older cast iron tub that had seen better days, with a few scratches and a dull surface. After researching several options, she purchased a well-reviewed bathtub reglazing kit online. With a few hours of preparation and a careful application process, Sarah was able to restore her bathtub to its original shine. While the process wasn’t flawless, the results were impressive, and Sarah saved hundreds of dollars compared to hiring a professional. Her DIY experience was a success, and she felt a sense of accomplishment knowing she had completed the project herself.
6-Where to Find the Best Bathtub Reglazing Kits
If you’re ready to give your bathtub a new lease on life, visit Cast Iron Restoration for the best selection of DIY bathtub reglazing kits. Whether you're looking for a quick fix or a more durable solution, we offer high-quality products that can help you achieve professional results at home.
 BDS Design Build Remodel4.0 (32 reviews)
 Woburn Plumbers at Pann Home Services & Remodeling4.0 (81 reviews)
 New Look Home Remodeling5.0 (11 reviews)
 Cast Iron Restoration5.0 (24 reviews)
 Master Bath4.0 (63 reviews)
 Tub Magic3.0 (6 reviews)
 How to Refurbish a Cast Iron Skillet at Home: A Complete Guide
 Best Products for Cast Iron Restoration Service: Top Tools and Products
 Simple At-Home Techniques for Cast Iron Restoration | Restore Your Cookware
 How to Restore Cast Iron at Home | A Complete Guide for Beginners
 How Long Does Cast Iron Skillet Refinishing Take? Realistic Timeline for Restoration
 What to Avoid When Attempting Cast Iron Refinishing: Common Mistakes to Watch Out For