
- -How to Avoid Moisture Traps When Designing a Bathroom-Understanding Hidden Risks
- -Smart Layout Planning-Design Choices That Prevent Damp Spaces
- -Ventilation and Airflow-Reducing Long Term Humidity Problems
- -Material Selection-Water Resistant Surfaces and Structural Protection
- -Real Home Renovation Stories-Lessons from Moisture Damage Cases
How to Avoid Moisture Traps When Designing a Bathroom: Understanding Hidden Risks
Learning how to avoid moisture traps when designing a bathroom is one of the most important steps in creating a durable and healthy home environment. Bathrooms naturally generate steam, splashes, and condensation every day. Without careful planning, moisture can collect in hidden areas, leading to mold growth, structural damage, and long-term repair costs.

Carefree Koatings / miracle method louisville ky
8919 Renetta Ct, Cincinnati, OH 45251, USA
1. Why Moisture Becomes a Hidden Problem
Bathrooms experience constant exposure to water and humidity. Over time, trapped moisture can slowly affect walls, floors, and even nearby rooms.

America Refinishing Pros / america refinishing pros
9510 SW 137th Ave, Miami, FL 33186, USA
1.1 The Slow Impact of Humidity
Steam from hot showers may seem harmless, but when it lingers in corners or behind fixtures, it can create damp conditions that encourage mold growth.
1.2 Common Areas Where Water Collects
Spaces behind vanities, under bathtubs, and inside poorly ventilated cabinets are frequent moisture traps that often go unnoticed until damage appears.
2. Thinking Ahead During the Design Phase
Understanding how to avoid moisture traps when designing a bathroom starts with planning. Early design decisions can prevent years of maintenance problems.
2.1 Balancing Function and Protection
A beautiful bathroom should also be practical. Designing with airflow and drainage in mind helps keep surfaces dry.
2.2 Preventing Future Repairs
Small design adjustments at the beginning can reduce the risk of costly renovations later.
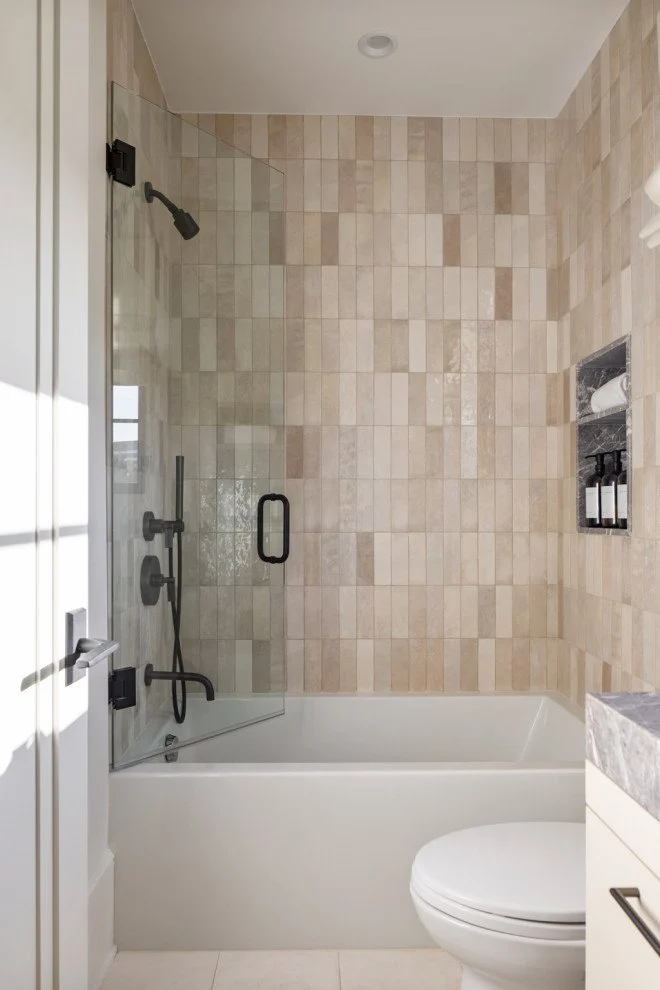
Smart Layout Planning: Design Choices That Prevent Damp Spaces
The layout of a bathroom has a direct impact on how moisture spreads and dries. A thoughtful arrangement helps prevent water from collecting in tight or enclosed areas.
1. Spacing Fixtures Properly
Proper spacing allows air to circulate freely, helping surfaces dry faster after use.
1.1 Avoiding Tight Corners
When sinks, cabinets, and bathtubs are placed too close together, they create areas where moisture can linger.
1.2 Elevating Cabinets and Storage
Wall-mounted vanities and open space beneath cabinets allow air to flow and prevent trapped dampness.
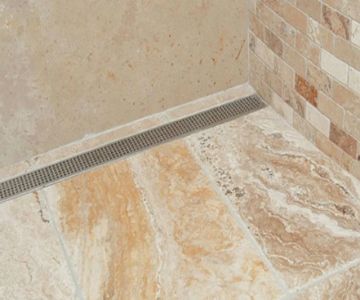
2. Drainage-Focused Design
Effective drainage ensures water flows away quickly rather than collecting in small pockets.
2.1 Slight Floor Sloping
Properly angled flooring helps direct water toward drains instead of allowing it to sit.
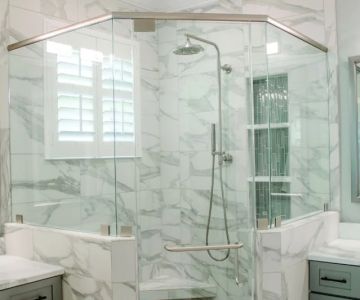
2.2 Strategic Shower Placement
Positioning showers in areas where splashes won’t spread to multiple surfaces helps keep the rest of the bathroom dry.
Ventilation and Airflow: Reducing Long-Term Humidity Problems
One of the most effective ways to understand how to avoid moisture traps when designing a bathroom is by focusing on ventilation. Proper airflow removes excess humidity before it has time to settle.
1. The Role of Air Movement
Without airflow, steam lingers and condenses on walls, mirrors, and ceilings.
1.1 Exhaust Fan Placement
Installing a well-positioned exhaust fan helps pull moist air out of the room quickly.
1.2 Natural Ventilation Options
Windows and vents allow fresh air to circulate, reducing dampness naturally.
2. Managing Daily Humidity Levels
Regular airflow helps maintain a comfortable environment and protects building materials.
2.1 Preventing Condensation Buildup
When warm air meets cooler surfaces, water droplets form. Ventilation helps minimize this effect.
2.2 Long-Term Structural Protection
Reducing humidity levels protects paint, wood, and metal fixtures from gradual damage.
Material Selection: Water-Resistant Surfaces and Structural Protection
Choosing the right materials is a critical step when learning how to avoid moisture traps when designing a bathroom. Some surfaces handle humidity much better than others.
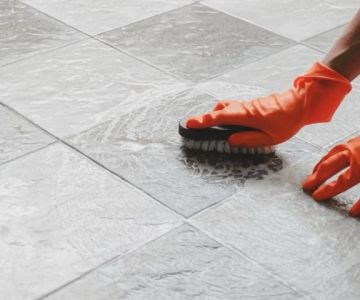
1. Selecting Durable Finishes
Moisture-resistant materials help prevent water absorption and reduce maintenance.
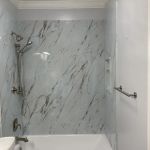
1.1 Tile and Sealed Surfaces
Well-sealed tile walls and floors prevent water from seeping into the structure beneath.
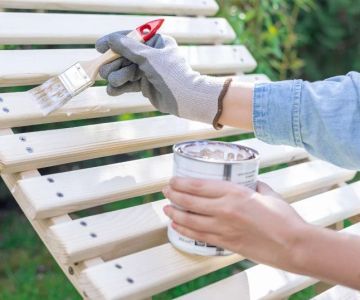
1.2 Protective Coatings
Paints and finishes designed for humid environments help resist mold growth.
2. Long-Term Fixture Considerations
Fixtures that resist rust and wear perform better in damp conditions.
2.1 Restoring and Maintaining Metal Fixtures
Some homeowners turn to specialists like Cast Iron Restoration to learn how to preserve classic tubs and metal features while protecting them from moisture damage.
2.2 Balancing Style and Durability
Choosing materials that look good and perform well helps maintain both beauty and function over time.
Real Home Renovation Stories: Lessons from Moisture Damage Cases
Real experiences often highlight the importance of understanding how to avoid moisture traps when designing a bathroom. One homeowner shared a renovation story online after discovering mold behind a vanity that looked perfectly fine from the outside.
1. Hidden Damage Behind Closed Spaces
The cabinet had been installed flush against the wall with no ventilation space. Over time, moisture built up behind it, leading to mold growth and wall damage.
1.1 Early Warning Signs
The first clue was a faint musty smell. By the time the cabinet was removed, repairs were already necessary.
1.2 Small Design Changes That Helped
In the renovation, the homeowner added slight spacing behind fixtures and improved airflow, which prevented future issues.
2. Learning from Renovation Mistakes
Stories like this show how small details can make a big difference in bathroom design.
2.1 The Value of Preventive Planning
Considering moisture control from the beginning helps protect both the structure and the health of those living in the home.
2.2 Creating a Lasting, Comfortable Space
When layout, ventilation, and materials work together, a bathroom remains dry, clean, and durable for many years without hidden problems developing over time.

 Re-Bath5.0 (110 reviews)
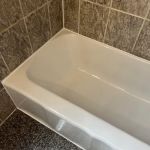 Cutting Edge Reglazing - Bathtub and Tile Refinishing4.0 (130 reviews)
 Lemont Kitchen and Bath, Inc5.0 (6 reviews)
 Dream Kitchens4.0 (25 reviews)
 Granite Mountain4.0 (137 reviews)
 NuFinishPro of Newport Beach5.0 (38 reviews)
 How to Refurbish a Cast Iron Skillet at Home: A Complete Guide
 Best Products for Cast Iron Restoration Service: Top Tools and Products
 Simple At-Home Techniques for Cast Iron Restoration | Restore Your Cookware
 How to Restore Cast Iron at Home | A Complete Guide for Beginners
 How Long Does Cast Iron Skillet Refinishing Take? Realistic Timeline for Restoration
 What to Avoid When Attempting Cast Iron Refinishing: Common Mistakes to Watch Out For