
- Overview: The Importance of the Final Walkthrough
- How to Prepare for Your Final Walkthrough
- Key Aspects to Check During the Walkthrough
- How to Handle Issues That Arise During the Walkthrough
- Completing the Project: Final Steps After the Walkthrough
Overview: The Importance of the Final Walkthrough
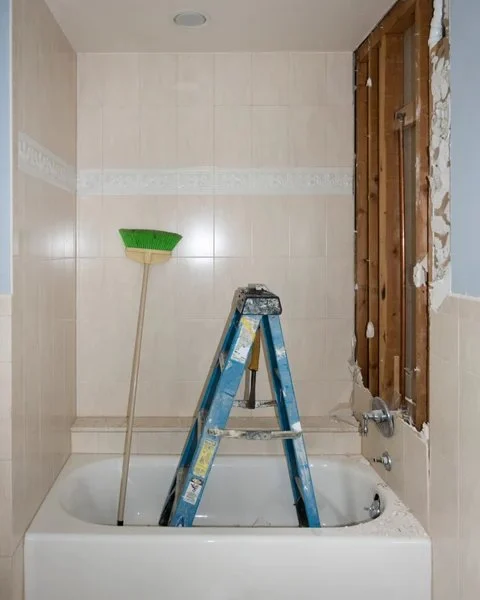
The final walkthrough is one of the most critical steps in the bathroom remodeling process. It gives you the opportunity to thoroughly inspect the work, ensuring that everything has been completed according to your expectations and the contract. This inspection ensures that the project is finished to a high standard before you make the final payment and start enjoying your new bathroom.
During the walkthrough, both you and the contractor will review the completed work, identify any issues or unfinished details, and address them before closing out the project. A successful final walkthrough ensures that your bathroom remodel meets your vision and is up to code.

Carefree Koatings / miracle method louisville ky
8919 Renetta Ct, Cincinnati, OH 45251, USA
How to Prepare for Your Final Walkthrough
Proper preparation is essential to ensure a smooth final walkthrough. By being proactive, you can avoid delays or misunderstandings with your contractor. Here are some steps to take to prepare:

Miracle Method Surface Refinishing / miracle bathtub refinishing
Santa RosaSonoma CountyCalifornia
3200 Dutton Ave Suite #325, Santa Rosa, CA 95407, USA
1. Review the Contract and Scope of Work
Before the final walkthrough, review the contract and scope of work to ensure all items are included. This document outlines what the contractor agreed to do, including specific materials, finishes, and design elements. By checking the contract, you can make sure nothing has been overlooked during the renovation.
2. Create a Checklist
Prepare a checklist of items to inspect during the walkthrough. This can include everything from the condition of the flooring, tiles, and fixtures to plumbing, lighting, and paint. Being thorough during the inspection will help you identify any issues early on. It’s also helpful to take notes or photos for reference.
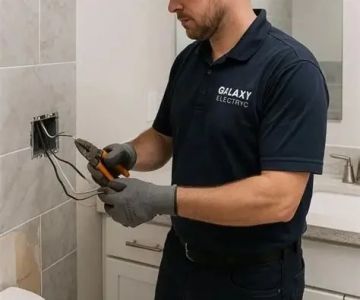
3. Make Sure Utilities Are Working
Ensure that all utilities, such as plumbing, electricity, and ventilation, are functioning properly. Test the sink, shower, toilet, lights, and exhaust fan to make sure everything is working as it should. If you’re unsure how something should work, ask your contractor to demonstrate it during the walkthrough.
Key Aspects to Check During the Walkthrough
During the final walkthrough, there are several important areas to focus on. Below are the key aspects you should check to ensure your bathroom remodel is complete and up to your expectations:
1. Quality of Workmanship
Inspect the overall quality of the work done. Look at the tiles, paint, fixtures, and finishes for any imperfections, such as chips, cracks, or uneven surfaces. Check the grout lines and ensure everything looks neat and clean. If something doesn’t meet your expectations, bring it up with your contractor so it can be addressed.
2. Functionality of Fixtures and Appliances
Check all the installed fixtures and appliances to ensure they function as expected. Turn on the sink, test the shower, flush the toilet, and use the lighting fixtures to make sure everything is operating correctly. Don’t forget to check the water pressure and temperature to ensure they are working properly.
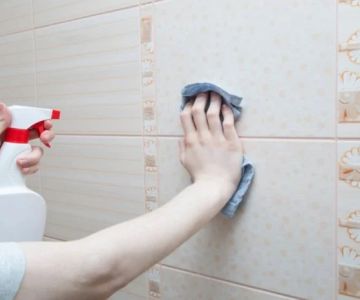
3. Cleanliness and Finishing Touches
Ensure that the bathroom is clean and that all finishing touches have been completed. This includes removing construction debris, cleaning the surfaces, and ensuring that the bathroom looks ready for use. A thorough cleaning is often the last step before the contractor considers the job complete, so make sure nothing is overlooked.
4. Ventilation and Waterproofing
Proper ventilation is essential in a bathroom to prevent moisture buildup and mold growth. Ensure that the exhaust fan is working and that it vents properly to the outside. Check for any signs of leaks around the shower, tub, or sink to ensure that the bathroom is properly waterproofed.
How to Handle Issues That Arise During the Walkthrough
During the final walkthrough, it’s not uncommon to uncover minor issues or incomplete work. Here’s how to handle them effectively:
1. Communicate Clearly with Your Contractor
If you notice any issues during the walkthrough, communicate them clearly to your contractor. Be specific about the problem, whether it’s a cosmetic issue, a functional problem, or something that doesn’t meet your expectations. A good contractor will be open to feedback and willing to resolve any issues to your satisfaction.
2. Set a Timeline for Fixing Issues
If there are issues that need to be addressed, work with your contractor to set a clear timeline for when the repairs will be made. Make sure the timeline is reasonable and agreed upon by both parties. Be sure to get everything in writing, including any adjustments to the final payment.
3. Inspect After Repairs Are Made
Once any issues are fixed, ask for a follow-up walkthrough to inspect the repairs. This ensures that the work has been completed to your satisfaction and that the issue has been properly addressed. Don’t sign off on the project until you’re fully satisfied with the final results.
Completing the Project: Final Steps After the Walkthrough
Once the final walkthrough is complete and all issues have been resolved, you’ll be ready to officially close out the project. Here are the final steps to take:
1. Final Payment
Once everything is in order, the last step is to make the final payment to your contractor. Be sure that all terms of the contract have been met and that you are completely satisfied with the completed work before making the payment. This is your last opportunity to ensure everything is in place.
2. Obtain Warranties and Documentation
Before concluding the project, ask for any warranties or documentation related to the work done. This can include warranties on materials, fixtures, or workmanship. Keep these documents for future reference, especially if any issues arise in the future.
3. Enjoy Your New Bathroom
Finally, once all steps are completed, it’s time to enjoy your new bathroom! Take the time to appreciate the transformation, and be sure to maintain the space to keep it looking great for years to come.
For expert guidance on bathroom remodels and professional renovation services, visit Cast Iron Restoration to find the best options for your next project.


 Luxora Bathroom Remodeling & Tile5.0 (11 reviews)
 REFINISHING PROS - Bathtub And Tile5.0 (121 reviews)
 KOHLER Store by Studio414.0 (130 reviews)
 PROEH CONSTRUCTION4.0 (25 reviews)
 Natural Kitchen Decor5.0 (5 reviews)
 Reflektion Home5.0 (11 reviews)
 How to Refurbish a Cast Iron Skillet at Home: A Complete Guide
 Best Products for Cast Iron Restoration Service: Top Tools and Products
 Simple At-Home Techniques for Cast Iron Restoration | Restore Your Cookware
 How to Restore Cast Iron at Home | A Complete Guide for Beginners
 How Long Does Cast Iron Skillet Refinishing Take? Realistic Timeline for Restoration
 What to Avoid When Attempting Cast Iron Refinishing: Common Mistakes to Watch Out For