
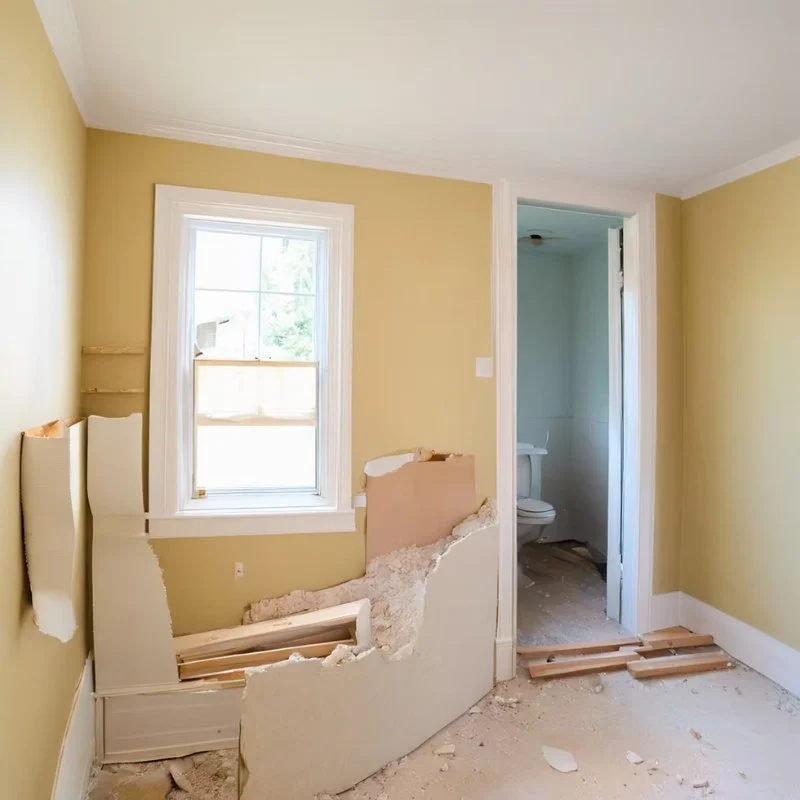
- Why Refinish a Bathroom?
- Steps for Refinishing Your Bathroom
- Typical Timeline for Refinishing a Bathroom
- Common Challenges in Bathroom Refinishing
- Cast Iron Restoration Recommendations
Why Refinish a Bathroom?
Refinishing a bathroom is an excellent way to restore its aesthetic appeal without the cost and hassle of a full renovation. Whether you have worn-out tiles, scratched bathtubs, or faded countertops, refinishing can breathe new life into your bathroom. Not only does this improve the look of the space, but it can also increase the overall value of your home.
Refinishing allows you to repair surfaces that are no longer in their prime, such as peeling paint or cracked fixtures, without replacing them entirely. The result is a bathroom that looks refreshed, modern, and new, all within a fraction of the cost of a total remodel.

Miracle Method Surface Refinishing / miracle method boulder
Santa RosaSonoma CountyCalifornia
3200 Dutton Ave Suite #325, Santa Rosa, CA 95407, USA
Steps for Refinishing Your Bathroom
Refinishing a bathroom involves several key steps. Each step is crucial to ensure that the final results are smooth, durable, and professionally done. Here’s an overview of the steps involved:
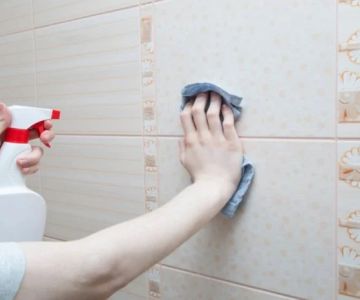
- Step 1 - Prep the Area: Proper preparation is essential for a successful refinishing job. Begin by cleaning the bathroom thoroughly, removing any soap scum, grime, or dust. Ensure that all surfaces are dry and free of any loose debris. Cover areas like mirrors, light fixtures, and floors with plastic sheeting to protect them from splatters.
- Step 2 - Repair Damaged Surfaces: Before refinishing, any cracks or chips in the surfaces must be repaired. Use a filler compound to fill in cracks and holes in the tub, sink, or countertop. Allow the filler to cure before proceeding with refinishing.
- Step 3 - Sand and Smooth Surfaces: Sanding is an important step to ensure the new finish adheres properly to the surface. Lightly sand all surfaces you plan to refinish, including tiles, countertops, and bathtubs. This helps remove old finishes and creates a rough texture for better bonding.
- Step 4 - Apply Primer: For best results, apply a primer to the surfaces before applying any finish. A good primer helps seal the surface, ensuring that the new finish lasts longer and adheres better. Allow the primer to dry completely before moving on to the next step.
- Step 5 - Apply the Finish: Using a brush or sprayer, apply your chosen refinishing product. Whether you choose an enamel, epoxy, or a bathtub refinishing kit, follow the manufacturer’s instructions carefully. Apply multiple thin layers, allowing each layer to dry fully before applying the next. This will give the bathroom surfaces a smooth, durable finish.
- Step 6 - Let the Finish Cure: After applying the final coat of finish, let the surface cure for the recommended time, typically 24 to 48 hours. This ensures the finish is hard and durable, ready to withstand everyday use.
Typical Timeline for Refinishing a Bathroom
The amount of time it takes to refinish an entire bathroom can vary depending on the size of the bathroom and the extent of the refinishing needed. However, most bathroom refinishing projects take approximately 3 to 5 days. Here's a general breakdown of the timeline:
- Preparation: 1 day – Thorough cleaning and surface repairs typically take one full day. This step is essential for a long-lasting finish.
- Sanding and Priming: 1 day – Sanding and applying primer is usually completed within a day. It’s important to allow adequate drying time between steps.
- Applying the Finish: 1-2 days – Depending on the number of layers required, this can take one to two days. Each layer of finish should be applied thinly and allowed to dry completely before the next layer.
- Curing: 1-2 days – After applying the final coat, you’ll need to let the finish cure. This usually takes about 24 to 48 hours for optimal results.
While refinishing is a relatively quick project, the total time involved in preparation and curing ensures that the work is done correctly, providing lasting results.

Surface Specialists of South Central MN / surface specialists mn
MankatoBlue Earth CountyMinnesota
436 Lyd Blvd, Mankato, MN 56001, USA
Common Challenges in Bathroom Refinishing
While refinishing is an excellent way to restore a bathroom, it does come with some challenges. Here are a few common issues to be aware of:
- Inconsistent Finish: One of the biggest challenges in refinishing is achieving an even, smooth finish. If not applied properly, the finish may have streaks or bubbles. To avoid this, always apply multiple thin layers and allow each to dry before adding the next.
- Incorrect Surface Preparation: Failure to properly clean and sand the surfaces before refinishing can lead to poor adhesion and an uneven finish. Take the time to thoroughly prepare the surfaces for the best results.
- Environmental Factors: Temperature and humidity can affect how well the finish adheres and cures. Make sure to follow the manufacturer’s recommendations regarding ideal conditions for application.
Cast Iron Restoration Recommendations
If you're refinishing a cast iron bathtub or sink, it's essential to use high-quality products designed for cast iron. At Cast Iron Restoration, we offer specialized kits and products for restoring cast iron surfaces to their former glory. With the right tools and guidance, you can make your cast iron fixtures look as good as new without the cost of replacement.


 D'ANGELS HOME REMODELING4.0 (22 reviews)
 Capstone Design + Build4.0 (7 reviews)
 Puzzle Construction Group5.0 (17 reviews)
 VILLA Bathroom Remodeling5.0 (32 reviews)
 Builder Supply Outlet4.0 (439 reviews)
 Abigail Hayden Interiors & Design5.0 (8 reviews)
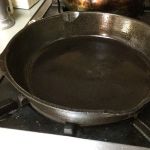 How to Refurbish a Cast Iron Skillet at Home: A Complete Guide
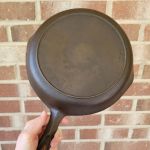 Best Products for Cast Iron Restoration Service: Top Tools and Products
 Simple At-Home Techniques for Cast Iron Restoration | Restore Your Cookware
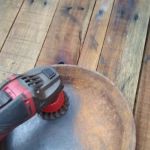 How to Restore Cast Iron at Home | A Complete Guide for Beginners
 How Long Does Cast Iron Skillet Refinishing Take? Realistic Timeline for Restoration
 What to Avoid When Attempting Cast Iron Refinishing: Common Mistakes to Watch Out For