
- #why-refinish-instead-of-replace
- #tools-and-materials-needed
- #step-by-step-refinishing-process
- #common-mistakes-to-avoid
- #real-bathroom-makeover-story
- #how-to-maintain-refinished-cabinets
Why Refinishing Bathroom Cabinets Is a Smart Choice
Bathroom renovations can quickly become expensive, especially when cabinetry is involved. Many homeowners assume replacement is the only way to achieve a fresh look, but learning how to refinish bathroom cabinets without replacing them can save thousands of dollars.
Refinishing allows you to keep the existing structure while updating the surface. This approach is not only cost-effective but also environmentally friendly, as it reduces waste and preserves usable materials.
For homes with solid wood cabinets or structurally sound units, refinishing often delivers results that look nearly identical to brand-new installations.
Fort Worth Refinishing / fort worth bathtub refinishing
2627 S Cooper St Suite E12, Arlington, TX 76015, USA
Essential Tools and Materials for Cabinet Refinishing
1. Surface Preparation Tools
1.1 Sandpaper and Sanding Blocks
These are used to remove the old finish and create a smooth surface for painting or staining.
Chicago Odorless Bathtub Refinishing / eco tub restoration
3236 W Eastwood Ave, Chicago, IL 60625, USA
1.2 Cleaning Supplies
Degreasers and mild cleaners help eliminate residue that could affect adhesion.
2. Finishing Materials
2.1 Primer
A high-quality primer ensures better paint adhesion and durability.
2.2 Paint or Stain
Choose moisture-resistant products designed for bathroom environments.
3. Application Tools
3.1 Brushes and Rollers
Used for even coverage and smooth finishes.
3.2 Protective Coatings
Sealants or topcoats add durability and protect against humidity.
Step-by-Step Guide to Refinishing Bathroom Cabinets
1. Remove Hardware and Doors
1.1 Label Components
Keep track of hinges and screws to simplify reassembly.
1.2 Create a Workspace
Work in a well-ventilated area for safety and efficiency.
2. Clean and Sand Surfaces
2.1 Deep Cleaning
Remove grease, dust, and residue to ensure proper adhesion.
2.2 Sanding Technique
Lightly sand surfaces to create a texture that allows primer to bond effectively.
3. Apply Primer and Finish
3.1 Even Application
Use thin, consistent coats to avoid streaks or drips.
3.2 Drying Time
Allow sufficient drying time between coats for a professional finish.
4. Reassemble and Inspect
4.1 Reattach Hardware
Install handles and hinges carefully to avoid damaging the new finish.
4.2 Final Touches
Inspect for imperfections and make minor corrections if needed.
Mistakes That Can Ruin Your Cabinet Refinishing Project
1. Skipping Surface Preparation
1.1 Poor Adhesion
Failing to clean or sand properly can cause paint to peel.
1.2 Uneven Finish
A poorly prepared surface leads to visible imperfections.
2. Using the Wrong Materials
2.1 Non-Moisture-Resistant Paint
Bathrooms require specialized products that can withstand humidity.
2.2 Low-Quality Tools
Cheap brushes or rollers can leave streaks and marks.
3. Rushing the Process
3.1 Insufficient Drying Time
Applying coats too quickly can ruin the finish.
3.2 Skipping Protective Layers
Without a sealant, the finish may wear out जल्दी.
A Real Bathroom Makeover That Saved Thousands
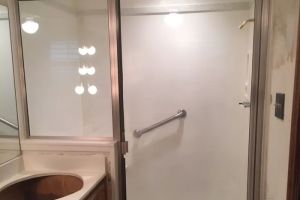
A homeowner in Texas shared their experience of updating a dated bathroom without replacing the cabinets. Initially quoted over $8,000 for new cabinetry, they decided to try refinishing instead.
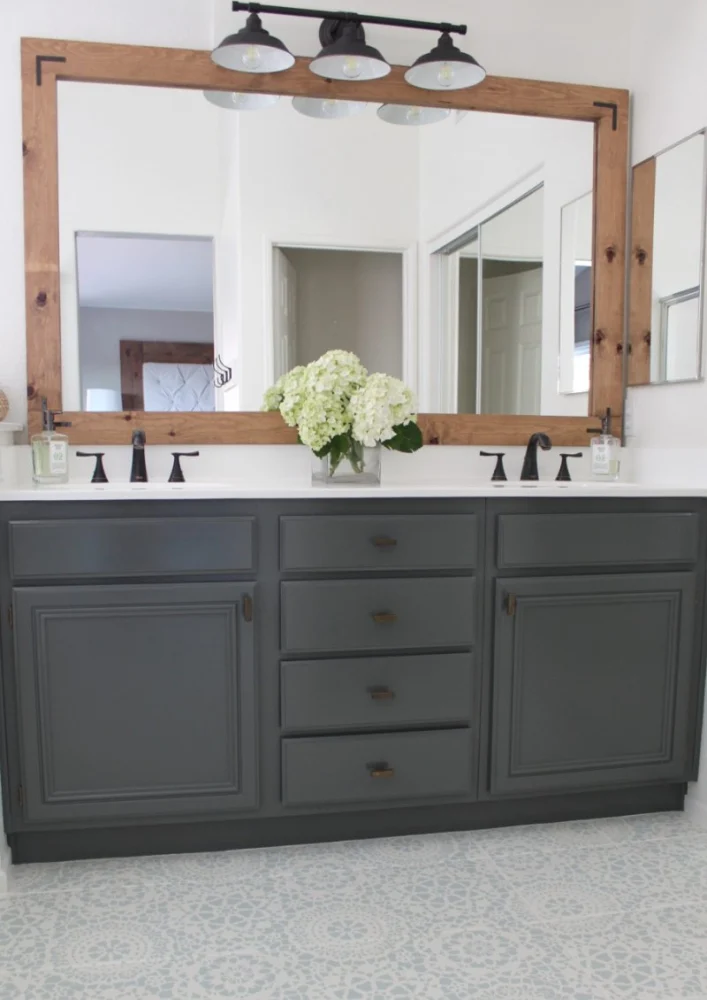
With careful preparation and the right materials, they transformed dark, worn cabinets into a bright, modern white finish. The total cost was under $500, and the result looked professionally done.
This story gained traction online, inspiring many others to explore refinishing as a practical alternative to full replacement.
How to Keep Your Refinished Cabinets Looking New
1. Regular Cleaning
1.1 Gentle Products
Use non-abrasive cleaners to protect the finish.
1.2 Consistent Maintenance
Wipe down surfaces regularly to prevent buildup.
2. Protect Against Moisture
2.1 Proper Ventilation
Use exhaust fans to reduce humidity levels.
2.2 Immediate Drying
Dry any water spills quickly to avoid damage.
3. Upgrade When Needed
Replacing hardware or adding new accents can refresh the look without major work. For those interested in restoration techniques and high-quality finishes, Cast Iron Restoration offers valuable insights and product recommendations to enhance your project results.
Learning how to refinish bathroom cabinets without replacing them gives homeowners a powerful way to upgrade their space affordably. With the right approach, patience, and attention to detail, you can achieve a transformation that feels both professional and deeply satisfying.


 Crockett Construction, Inc.4.0 (23 reviews)
 Fusion Refinishing4.0 (7 reviews)
 Hall Home Improvement5.0 (1 reviews)
 Calumet Painting & Restoration4.0 (20 reviews)
 Norbac Remodeling5.0 (61 reviews)
 Dowling Designs Inc5.0 (2 reviews)
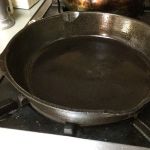 How to Refurbish a Cast Iron Skillet at Home: A Complete Guide
 Best Products for Cast Iron Restoration Service: Top Tools and Products
 Simple At-Home Techniques for Cast Iron Restoration | Restore Your Cookware
 How to Restore Cast Iron at Home | A Complete Guide for Beginners
 How Long Does Cast Iron Skillet Refinishing Take? Realistic Timeline for Restoration
 What to Avoid When Attempting Cast Iron Refinishing: Common Mistakes to Watch Out For