
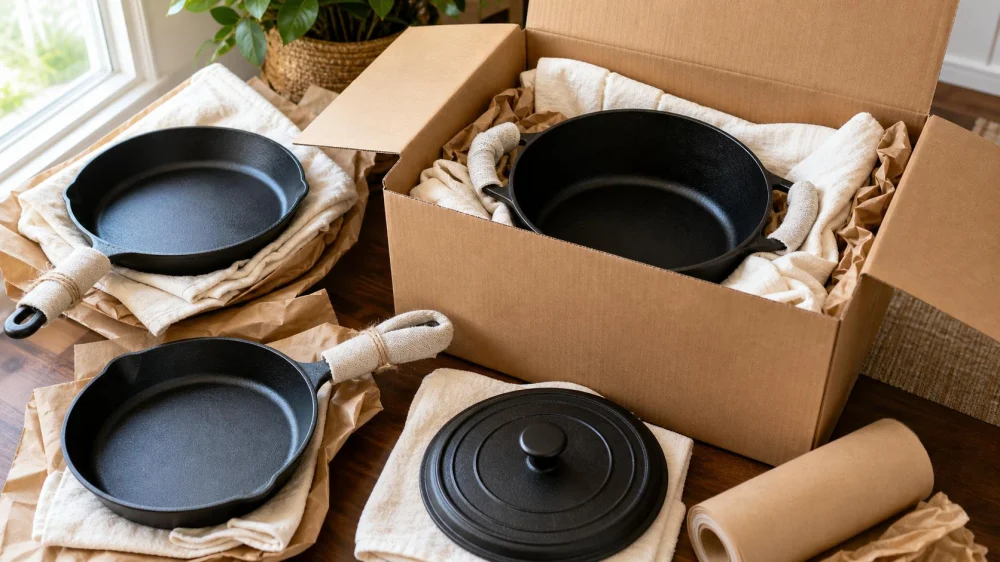
How to Pack Cast Iron Cookware for Moving or Travel
On this page
- Quick answer
- Plan the load before wrapping
- Clean, dry, and inspect every piece
- Wrap cookware without trapping moisture
- Choose and load a suitable container
- Manage the cookware during transport
- Unpack and inspect promptly
- Common packing mistakes to avoid
- Safety and limitations
- Frequently asked questions
- Conclusion and packing checklist
Quick answer
Clean and dry cast iron completely, inspect it for cracks, separate every lid and pan with clean dry padding, protect handles from side impacts, and place the heaviest pieces flat in a small sturdy container. Fill empty spaces so nothing shifts, keep the load dry and upright, and never make one box too heavy to lift safely. Unpack soon after arrival and check for moisture, chips, rust, or cracks before cooking.

Miracle Method Surface Refinishing / miracle tub refinishing
Santa RosaSonoma CountyCalifornia
3200 Dutton Ave Suite #325, Santa Rosa, CA 95407, USA
Plan the load before wrapping
Cast iron is durable in normal cooking but it is also heavy and comparatively brittle. A dropped skillet can crack, a long handle can snap, and a loose lid can chip another piece. Good packing manages impact, movement, moisture, and lifting weight at the same time.
Start with a simple inventory. Record each skillet, Dutch oven, griddle, lid, trivet, and removable handle cover. Photograph valuable or collectible pieces from several angles, including maker marks and existing defects. This creates a condition record for your own use; it does not guarantee insurance coverage.
Before choosing a container, estimate whether you can lift it using safe body mechanics. Several medium cast-iron pieces can make a deceptively compact box dangerously heavy. Use multiple small boxes or hard-sided bins rather than concentrating a whole collection in one large carton.

Chicago Odorless Bathtub Refinishing / eco tub restoration
3236 W Eastwood Ave, Chicago, IL 60625, USA
Clean, dry, and inspect every piece
- Remove food and loose debris. Wash cooled cookware according to its manufacturer guidance. Do not pack crumbs, grease, or wet residue.
- Dry immediately and fully. Towel dry and, for bare seasoned iron, use gentle controlled warmth if appropriate to evaporate remaining moisture. Let the cookware cool before wrapping.
- Use very little oil. If bare iron needs a maintenance film, wipe on a food-compatible seasoning oil and buff until the surface appears nearly dry. Excess oil can become sticky, stain packing material, and turn rancid.
- Inspect edges and handles. Look for cracks, severe warping, loose knobs, flaking unknown coatings, or active rust. Do not assume wrapping will stabilize structural damage.
- Remove accessories. Detach silicone grips, trivets, chains, thermometers, and other loose parts. Clean, dry, and pack them separately.
Enameled cookware needs special attention because its glass-like finish can chip. Follow the brand's care guidance and prevent metal-to-enamel contact.
Wrap cookware without trapping moisture
Place a clean, dry, non-abrasive layer against each cookware surface. Plain packing paper, clean cotton cloth, or a purpose-made pan protector can prevent direct contact. Avoid damp towels, used newspaper that may transfer ink, and materials with strong chemical or fragrance odors.
Then add cushioning suitable for transport:
- Cover the rim and both faces of each skillet.
- Give long handles their own padding, especially where the handle joins the pan.
- Wrap lids separately rather than leaving them loose inside pots.
- Place a firm separator between nested pieces so rims and cooking surfaces cannot grind together.
- Protect enameled edges and knobs with extra non-abrasive cushioning.
- Secure the wrap without taping directly onto seasoned or enameled surfaces.
Plastic bubble cushioning can be useful as an outer impact layer, but only after cookware is fully dry. For long moves through changing temperatures, avoid sealing questionable moisture inside an airtight plastic bag.
Choose and load a suitable container
Use a small, sound, double-wall carton or a rigid bin rated for the expected weight. Reinforce a cardboard box with packing tape across the bottom seams, following the box supplier's instructions. A damaged, damp, or previously crushed carton is a poor choice.
- Build a firm cushioning layer across the bottom.
- Place the heaviest wrapped cookware flat and centered, never balanced on a long handle.
- Keep wrapped lids vertical only when they are fully separated, supported, and unable to tip; otherwise lay them flat.
- Add lighter pieces above heavier ones, with firm dividers between layers.
- Fill every side gap with clean packing material so the contents cannot slide or rotate.
- Close the container and gently test for movement without shaking it. Add padding if anything shifts.
- Seal and label the container as heavy and fragile. Note which side should remain up.
Do not rely on a “fragile” label to make an overloaded box safe. The container, padding, weight, and handling plan all matter.
Manage the cookware during transport
- In a moving truck: Keep the container low, level, and blocked from sliding. Do not place it where furniture or appliances can fall onto it.
- In a car: Secure the box so sudden braking cannot turn it into a projectile. Keep it out of footwells needed for pedal operation and away from airbag deployment areas.
- At a campsite or vacation rental: Carry only the sizes you will use. Confirm that the stove, grill, or cooktop allows cast iron and can support its weight.
- For air or commercial travel: Check the carrier's current baggage, weight, and restricted-item rules before departure. Inspection and handling are outside your control, so pack for repeated impacts and easy reclosure.
- In wet weather: Protect the entire container from rain and standing water. Replace any wet cardboard rather than loading it.
Lift heavy containers with help or suitable equipment. Keep the load close to your body, avoid twisting, and use a dolly rated for the weight when appropriate.
Unpack and inspect promptly
- Move the container to a dry stable surface and open it carefully.
- Check the packaging for dampness, oil stains, crushed areas, or impact marks.
- Unwrap one piece at a time and compare valuable cookware with the pre-move photographs.
- Inspect handles, rims, bottoms, lids, knobs, enamel, and known weak spots in bright light.
- Wash or wipe cookware as its care instructions require, then dry fully.
- Address light surface rust promptly with a method appropriate to the finish.
Do not cook in a piece with a new crack, unstable handle, sharp chipped enamel on a food-contact area, or unknown residue. Seek manufacturer or experienced restoration advice.
Common packing mistakes to avoid
- Packing cookware while warm, damp, greasy, or food-soiled
- Leaving a heavy lid loose inside a Dutch oven
- Allowing bare metal or enamel surfaces to touch directly
- Using one oversized box that a person cannot control safely
- Supporting a skillet by its handle instead of its pan body
- Using scented, dirty, or moisture-holding fabric as the inner layer
- Applying adhesive tape directly to cookware
- Leaving packed cast iron for weeks in a damp garage, trunk, or storage unit
Safety and limitations
This guidance is for typical household cast iron cookware in the United States. Antique, cracked, plated, enameled, unusually valuable, or commercially sized pieces may need a custom crate or specialist handling. Manufacturer instructions take priority.
Packing methods reduce risk but cannot guarantee against damage. Moving-company liability, airline baggage rules, and insurance terms vary. Confirm current written requirements with the relevant provider before transport, especially for valuable collections.
Heavy lifting can injure the back, hands, and feet. Wear closed-toe footwear, keep children and pets away from the loading area, ask for assistance, and do not lift a load you cannot safely control.
Frequently asked questions
Can I nest cast iron skillets for moving?
Yes, if each clean dry piece has a firm non-abrasive separator and the nested stack cannot shift. Keep the total container weight manageable and protect every handle.
Should I oil cast iron before packing?
A sound bare-iron pan may benefit from an extremely thin maintenance film, but it should look nearly dry. Thick oil can become sticky or rancid and may stain padding.
Is a plastic tote better than cardboard?
A rigid tote can resist crushing and outside moisture, but it must be rated for the load and cannot compensate for wet cookware or poor padding. Cardboard can work when it is strong, dry, appropriately sized, and reinforced.
Can I leave the lid on a Dutch oven?
Do not leave it loose. Wrap the lid independently and either secure it with a protective separator or pack it in its own supported position so it cannot strike the pot.
How soon should I unpack?
Unpack as soon as practical after arrival, especially after rain, humidity, or major temperature changes. Prompt inspection helps find moisture and transport damage before corrosion advances.
Conclusion and packing checklist
Before the move, inventory, photograph, clean, dry, and inspect each piece. Wrap cookware individually, isolate lids and handles, distribute weight across small sturdy containers, and eliminate internal movement. Keep boxes dry and secured in transit, then unpack promptly and inspect before use. The best packing job protects both the cookware and every person who must lift it.





 Avan Refinishing Solutions LLC4.0 (24 reviews)
 Pat Scales Remodeling4.0 (39 reviews)
 Jemco Reglazers4.0 (22 reviews)
 Advance Home Remodelers, Window Installation & Service Inc.5.0 (28 reviews)
 bulldog refinishing4.0 (34 reviews)
 The Bath Gallery5.0 (3 reviews)
 How to Refurbish a Cast Iron Skillet at Home: A Complete Guide
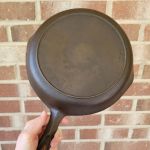 Best Products for Cast Iron Restoration Service: Top Tools and Products
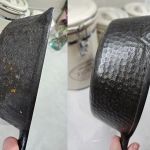 Simple At-Home Techniques for Cast Iron Restoration | Restore Your Cookware
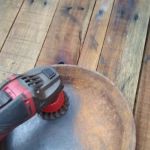 How to Restore Cast Iron at Home | A Complete Guide for Beginners
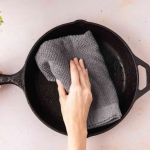 How Long Does Cast Iron Skillet Refinishing Take? Realistic Timeline for Restoration
 What to Avoid When Attempting Cast Iron Refinishing: Common Mistakes to Watch Out For