
Food Sticks to Cast Iron: Fix Heat, Oil, Timing, and Surface Prep
Quick answer: Sticking does not always mean the seasoning has failed. Start with a clean, dry pan; preheat gradually; add enough cooking fat for the food; control burner heat; dry the food surface; and wait for browning before trying to move it. If food still catches in the same rough, rusty, or flaking spots, clean and repair the seasoning before the next cook.
1. Inspect for Rust, Flaking, and Sticky Buildup
Run a clean paper towel over a cool pan in good light. A usable surface may be textured, but it should not shed flakes, feel gummy, show active orange rust, or hold crusted food. Check the center, sidewalls, pour spouts, and areas where sticking repeats.
If the pan is cracked, badly warped, or has an unknown coating, stop and evaluate it before cooking. Technique cannot correct structural damage or unsafe residue.

Miracle Method Surface Refinishing / miracle tub refinishing
Santa RosaSonoma CountyCalifornia
3200 Dutton Ave Suite #325, Santa Rosa, CA 95407, USA
2. Begin With a Clean, Completely Dry Pan
Old food and thick oil layers create uneven contact and hot spots. Wash the pan as needed with dish soap, warm water, and a suitable brush, then rinse and dry promptly. A clean pan is not the enemy of seasoning.
Warm the pan briefly over low heat to remove hidden moisture, then let excess heat settle before cooking. Do not burn off residue on high heat; smoke is a sign to stop and ventilate.

Carefree Koatings / miracle method louisville ky
8919 Renetta Ct, Cincinnati, OH 45251, USA
3. Preheat Slowly Instead of Blasting High Heat
Cast iron warms slowly and holds energy. Use low to medium heat for several minutes so the cooking surface becomes more even. A large burner on maximum can make one area scorch while the edges remain cooler.
Learn your stove and pan combination. Electric elements cycle, gas flames can heat beyond the base, and induction responds quickly. Never leave an empty pan unattended.
4. Add the Cooking Fat After Preheating
Add an oil or fat appropriate for the recipe and cooking temperature, then spread it across the contact area. The pan should be lubricated, not flooded. Very lean foods and new seasoning generally need more help than fatty foods or a mature surface.
If oil smokes immediately, the pan is too hot for that oil or the chosen method. Remove the pan from heat safely, ventilate, and restart at a lower setting after it cools.
5. Dry Food and Avoid Very Cold Surface Moisture
Pat meat, fish, tofu, and vegetables dry with clean towels as appropriate. Excess water turns to steam, cools the contact surface, and can interfere with browning. Wet marinades and sugary coatings also stick more readily.
Follow food-safety rules while tempering ingredients; do not leave perishable food at room temperature longer than recommended. Season just before cooking when salt would otherwise draw substantial moisture to the surface.
6. Leave Space Between Pieces
Overcrowding drops pan temperature and traps steam. Cook in batches so each piece contacts hot iron and moisture can escape. Let the pan recover between batches, adding a small amount of fat if the surface looks dry.
Choose a pan sized to both burner and food. A skillet that is too small encourages crowding; one far larger than the burner may heat unevenly.
7. Let Browning Create a Natural Release
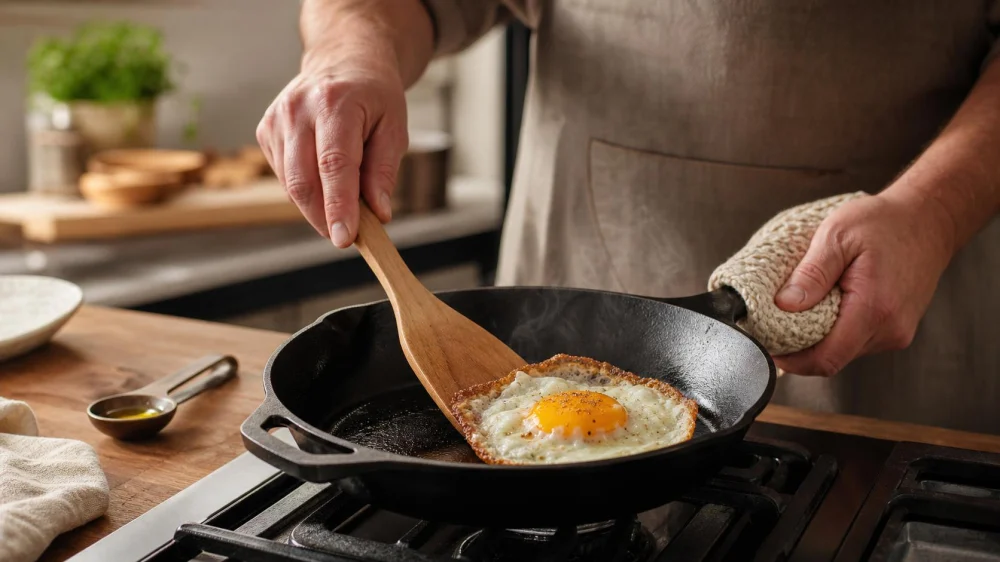
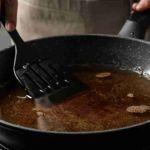
Many proteins cling at first and release more easily after a crust forms. Place the food, then resist constant nudging. Test gently at an edge with an appropriate spatula; if it resists strongly, it may need more time or a heat adjustment.
Forceful scraping can tear food and damage weak seasoning. Use a thin-edged utensil compatible with the pan and support delicate food fully when turning.
8. Give Eggs, Fish, and Other Delicate Foods Extra Help
For eggs, use moderate preheat, adequate butter or oil, and reduce heat after the egg enters. For skin-on fish, dry the skin, place it carefully, and wait for it to crisp. Recipes with cheese, starch, or sugar may require lower heat and more fat.
A newly restored skillet may perform better first with forgiving foods. Nonstick-like results develop through consistent cleaning, thin seasoning, and technique—not one heavy oil coating.
9. Remove Residue Before It Becomes the Next Meal's Problem
After the pan is safe to handle, wash away food and degraded oil. A brush, scraper, and hot soapy water are usually enough. Do not preserve stuck-on carbon as “seasoning”; seasoning is a bonded thin film, not leftover food.
Dry fully and wipe on only a trace of oil if needed. Thick storage oil can oxidize, turn sticky, and make later sticking worse.
10. Repair Seasoning When Technique Is Not the Cause
If clean food repeatedly sticks at bare gray metal, rusty patches, or peeling zones, remove loose material, treat rust, and rebuild thin seasoning layers. Follow ventilation and fire-safety precautions, and use a method suitable for the pan and oil.
Change one variable at a time on the next cook—preheat, burner level, oil amount, food moisture, or release timing—and record the result. That small test is more useful than repeatedly stripping a sound pan.




 General Contractor & Remodeling AlBarran4.0 (17 reviews)
 JB COUNTERTOPS, LLC5.0 (29 reviews)
 FBC Remodel4.0 (61 reviews)
 Juarez Painting5.0 (3 reviews)
 Blue Sky Plumbing Heating Cooling & Drain Cleaning5.0 (12 reviews)
 Miami Bathtub Refinishing5.0 (2 reviews)
 How to Refurbish a Cast Iron Skillet at Home: A Complete Guide
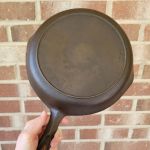 Best Products for Cast Iron Restoration Service: Top Tools and Products
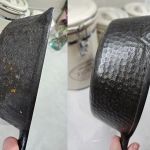 Simple At-Home Techniques for Cast Iron Restoration | Restore Your Cookware
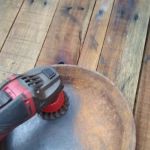 How to Restore Cast Iron at Home | A Complete Guide for Beginners
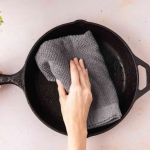 How Long Does Cast Iron Skillet Refinishing Take? Realistic Timeline for Restoration
 What to Avoid When Attempting Cast Iron Refinishing: Common Mistakes to Watch Out For